For over a decade, rooting was synonymous with “true control” over Android. It gave developers deep system access with the ability to reconfigure, debug, and customize devices far beyond normal limits.
But as the Android ecosystem evolved, so did the way professional developers and OEMs customize it. Today, companies building custom Android hardware or custom Android tablets no longer need to rely on insecure root methods to get system-level access.
Today, there’s a modern, secure approach: instead of opening root access, we give customer applications firmware signature keys, a mechanism that safely provides system configuration privileges without compromising device integrity.
Here’s why that matters and how it transforms Android customization in 2025.
Why Rooting Was Once Essential for Custom Android Development
Rooting originally emerged as a workaround for locked consumer devices. By gaining superuser (root) access, developers could:
- Modify or replace system apps and frameworks
- Access hardware interfaces directly
- Change kernel or performance parameters
- Capture full system logs and run privileged scripts
For teams building custom Android tablets or embedded systems, rooting also offered a shortcut to full OS control — even without rebuilding firmware images every time.
But this came at a cost:
Rooting disabled Verified Boot, weakened SELinux enforcement, and often broke OTA updates or certifications. It blurred the line between engineering control and security exposure.
Custom Android Hardware Today: Source Access Replaces Rooting

Modern Android development tools and AOSP access have changed the game.
Developers working on custom Android hardware can now:
- Modify system code directly within AOSP
- Use userdebug or engineering builds with built-in debugging privileges
- Implement privileged services or daemons signed with platform keys
- Configure devices dynamically via Device Policy APIs
In this context, traditional rooting is no longer essential, especially for teams with firmware-level control.
How Hatch Handles System Access Securely
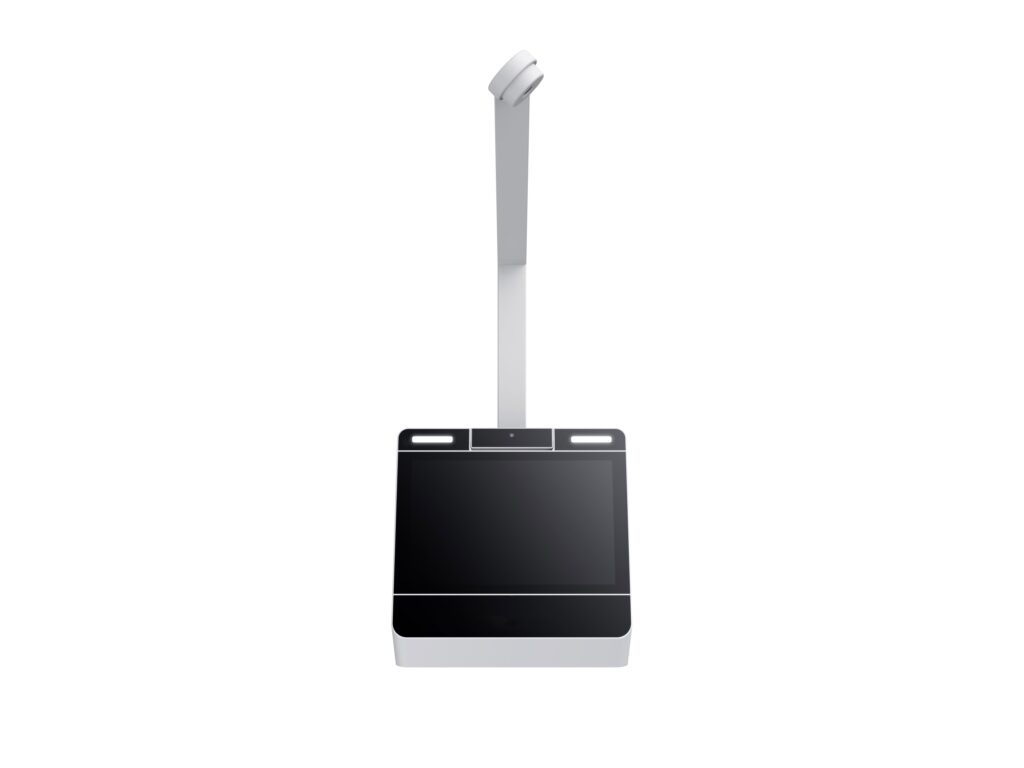
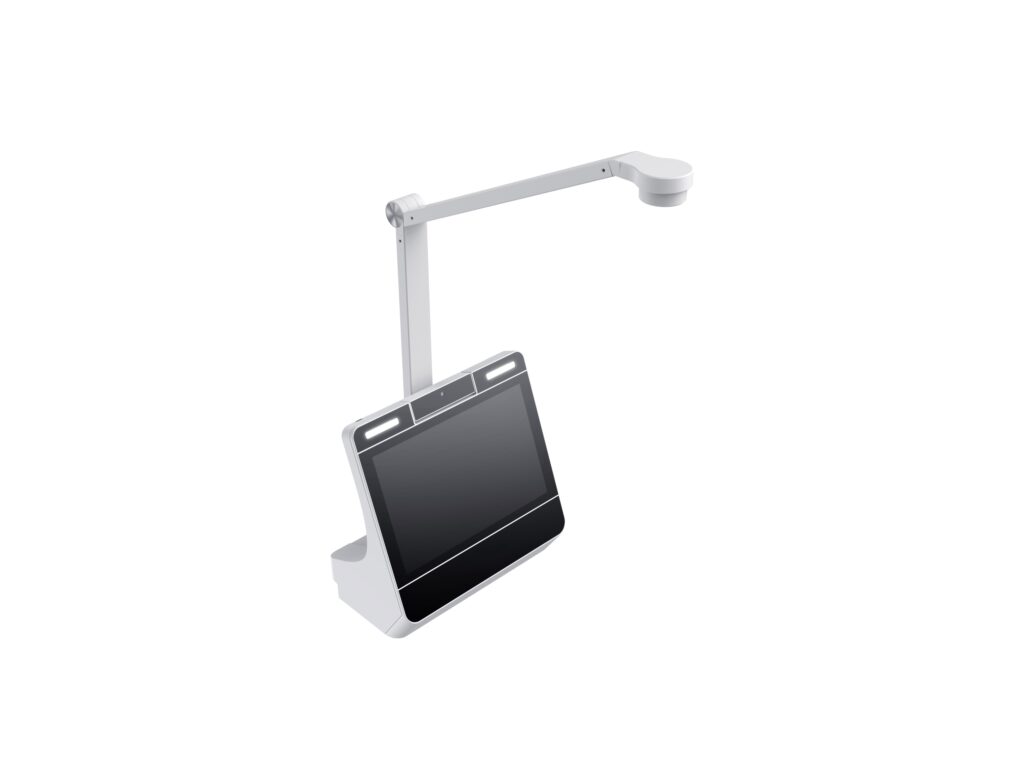
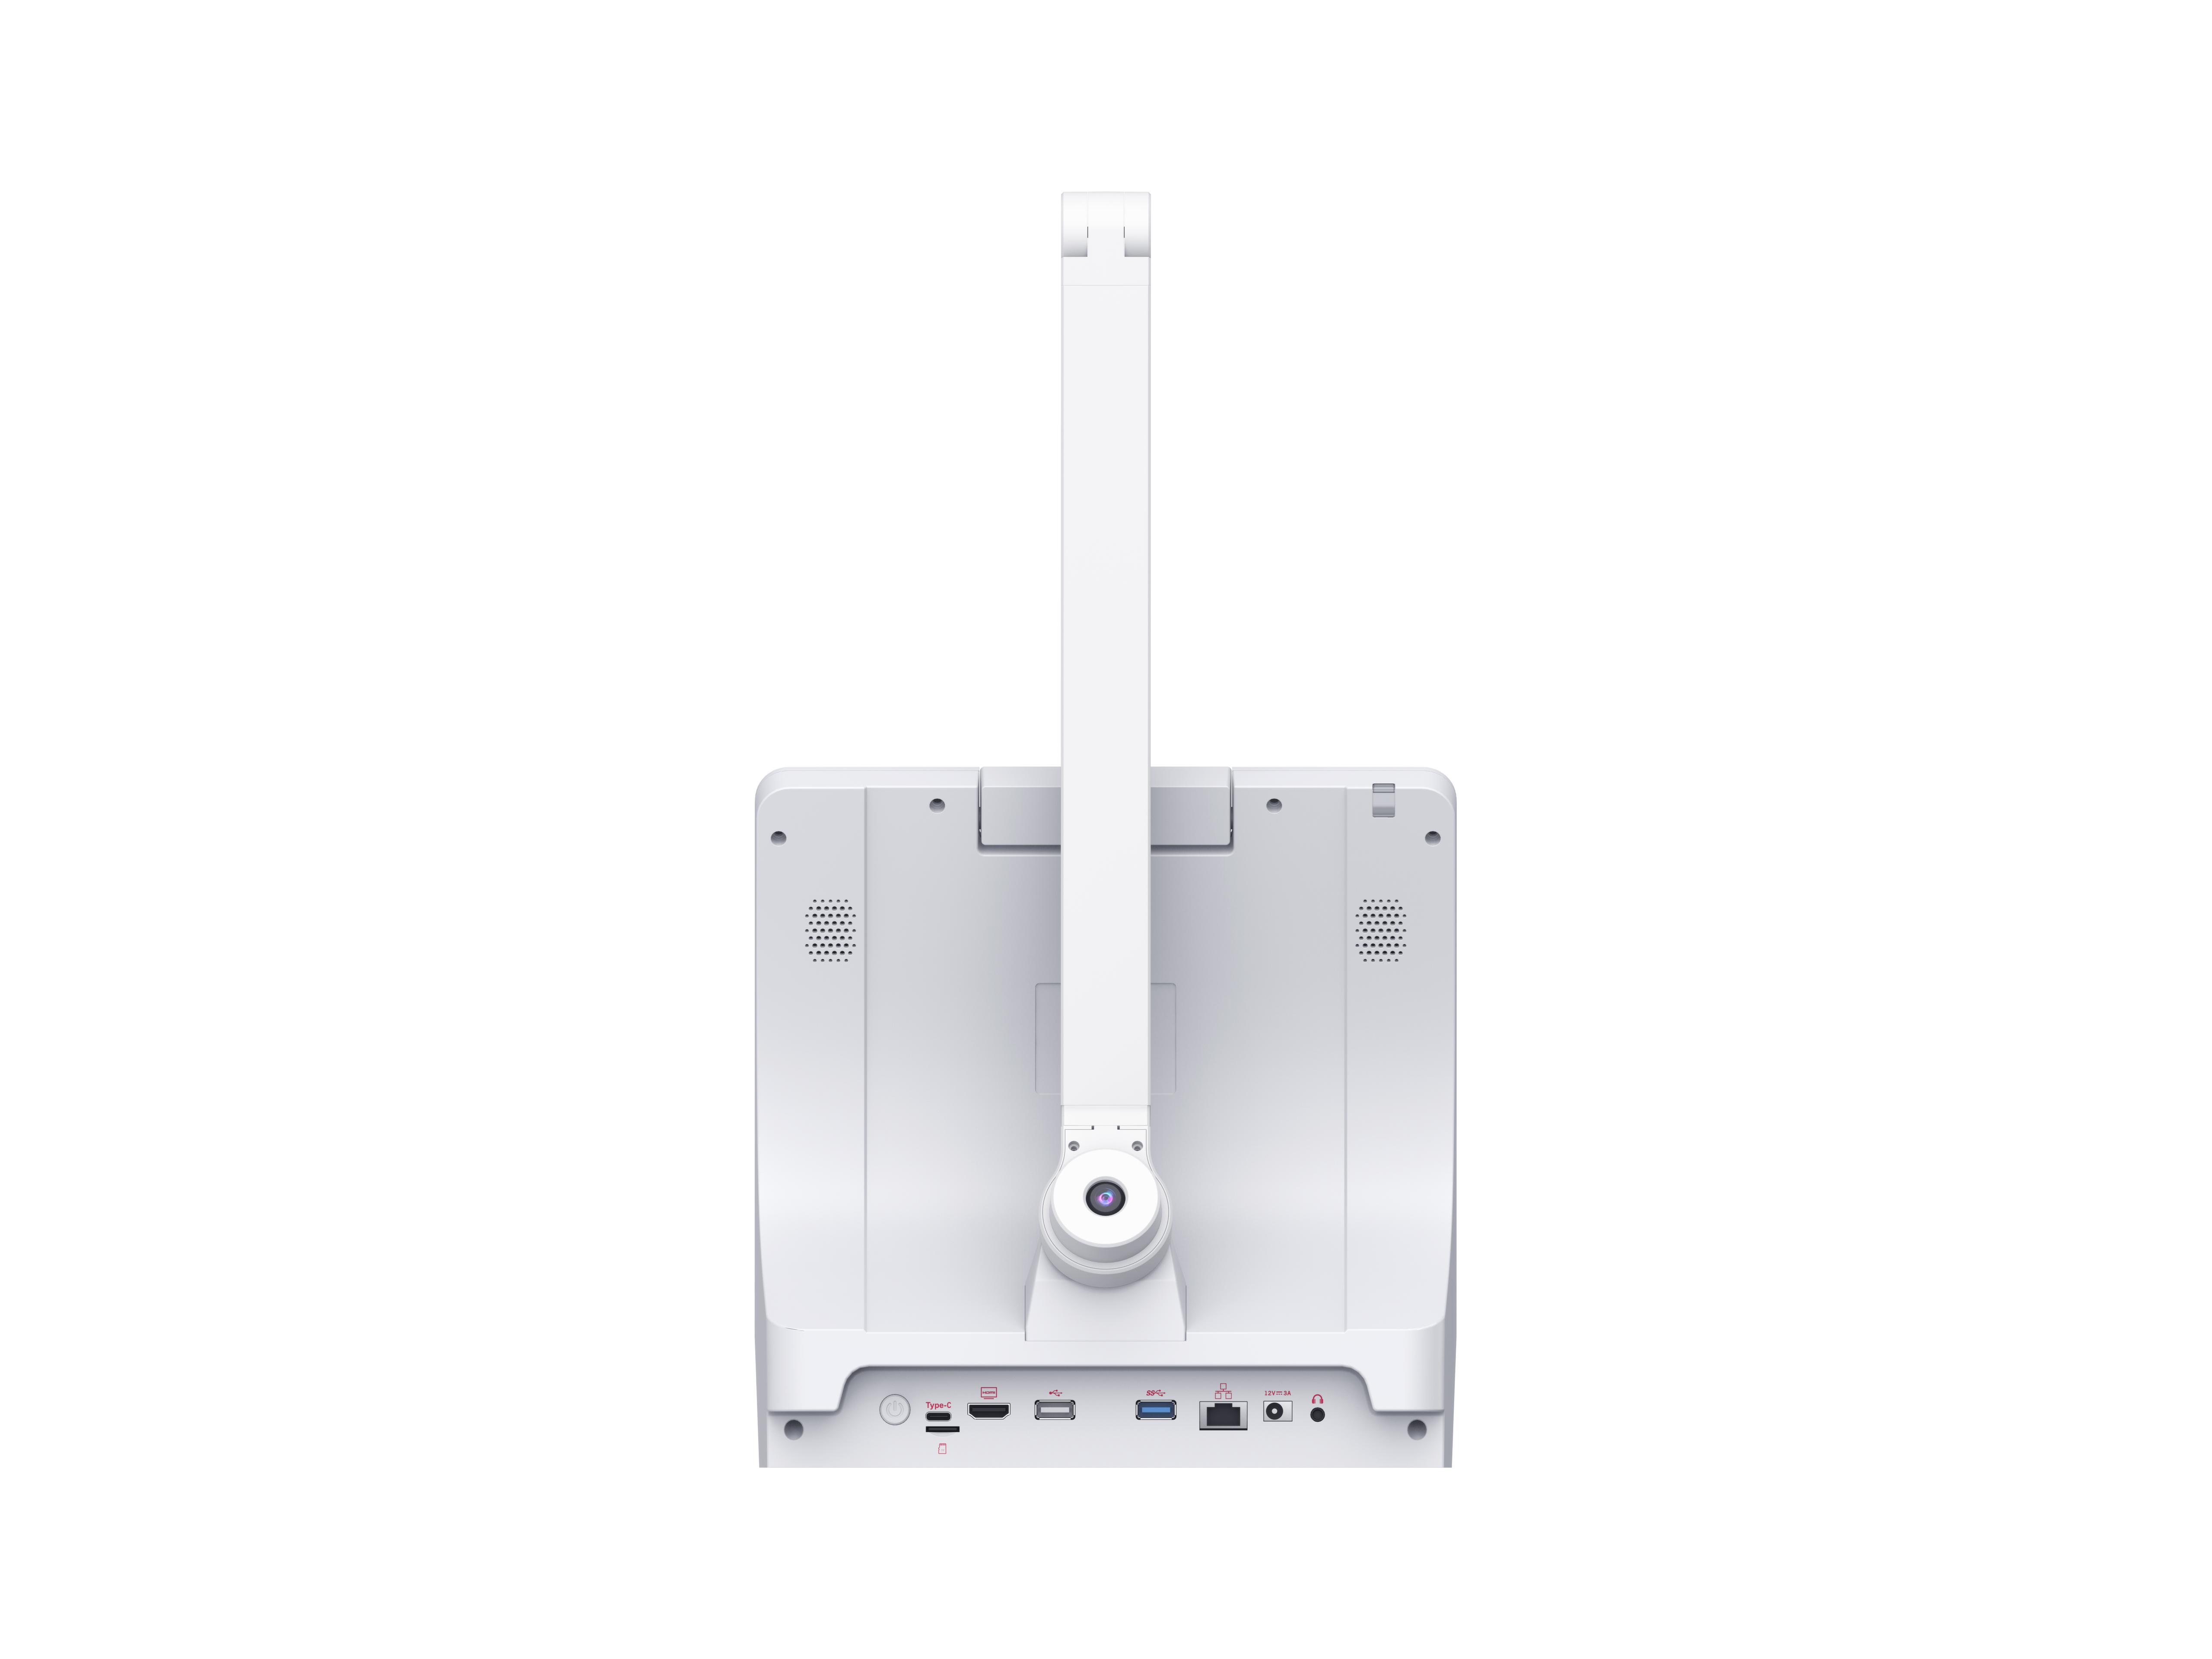
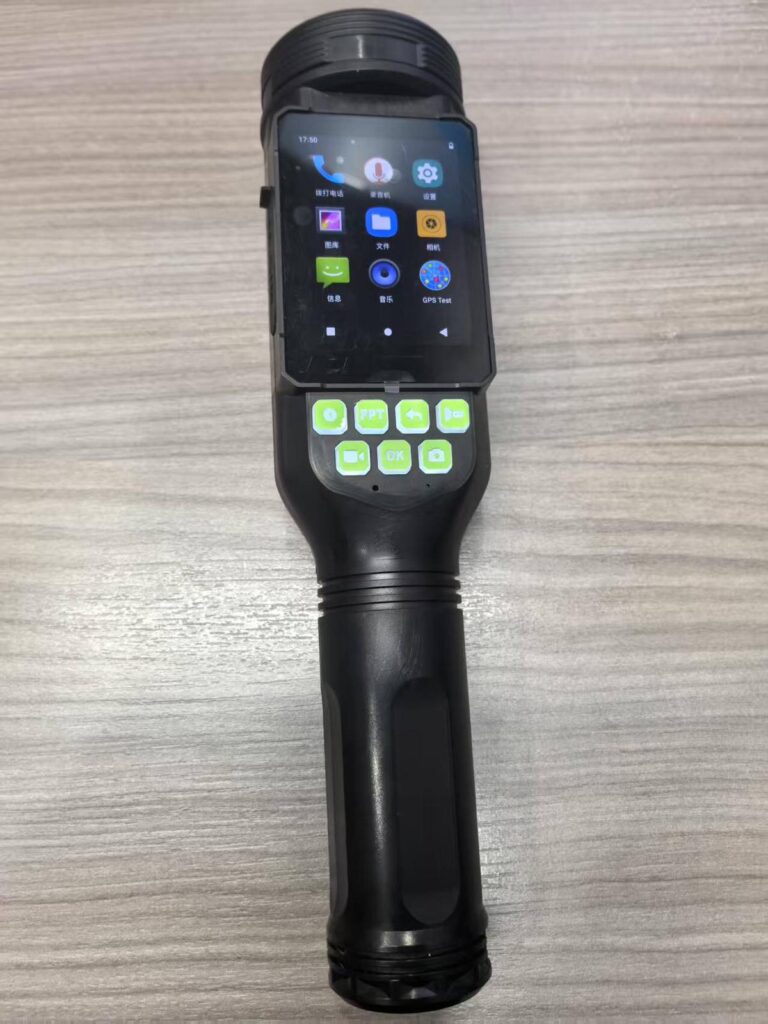
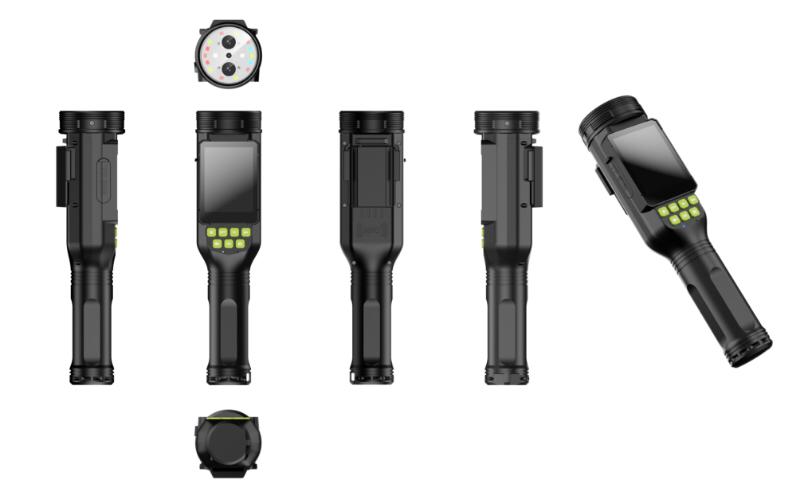
At Hatch, we design and manufacture custom Android tablets and hardware platforms for specialized environments like industrial control, enterprise mobility, medical applications, and more.
Our clients often need deep system control: changing display parameters, adjusting network policies, managing device power, or integrating tightly with system services. Traditionally, this would require root.
Instead, Hatch replaces root with firmware signature keys.
Firmware Signature Keys Explained

Every Hatch firmware image is signed with a secure platform key. We can authorize specific customer applications to be signed with the same firmware signature key, granting them system-level permissions without unlocking or rooting the device.
This allows trusted apps to:
- Access protected Android APIs (normally reserved for system apps)
- Modify system settings and configurations
- Communicate with system daemons or HALs securely
- Install or manage other privileged components
- Perform diagnostics or logging at the OS level
All of this happens without disabling Verified Boot or breaking the Android security model.
It’s a controlled, cryptographically verified alternative to root access, giving apps deep power, but only when authorized through firmware trust.
Why Hatch’s Method Is Better Than Rooting
1. Security Preserved
Rooting exposes the entire OS to risk; any malicious app can escalate privileges.
Hatch’s firmware signing model keeps the OS locked down — only apps signed with authorized keys can act as system-level components.
2. Certified and Update-Safe
Rooting often breaks OTA updates or invalidates certifications.
Firmware-signed apps maintain full compatibility with Verified Boot, OTA updates, and enterprise security frameworks.
3. Granular Control
Instead of giving full superuser access, we grant precise permissions only to trusted apps. Customers decide which components get elevated access without unnecessary exposure.
4. Seamless Integration
Firmware-signed apps behave like native system components. Developers can use standard Android APIs and AIDL interfaces instead of patching frameworks or using root-only tools.
5. Faster Development and Maintenance
Because there’s no rooting or patching required, firmware remains stable across updates. Developers can iterate rapidly without reconfiguring root environments or re-flashing test images.
Example: Custom Android Tablet for Enterprise Use
Imagine an enterprise deploying a fleet of custom Android tablets for field inspections. Their application needs to:
- Control Wi-Fi policies
- Capture logs for diagnostics
- Adjust screen timeout or brightness
- Perform secure remote management
On a rooted device, this means opening the OS to risk.
On a Hatch-built device, the same app can be signed with the firmware key, gaining controlled system privileges while preserving verified security.
The result:
A device that behaves like a fully managed system — with all the flexibility of root, but none of the instability or exposure.
When Root Still Helps (And When It Doesn’t)

Rooting still has limited use during early development:
- Rapid hardware validation
- Sensor and HAL testing
- Prototype debugging and log access
However, for production devices — especially in industrial, retail, or enterprise settings — rooting is a liability.
Firmware signature keys, like those implemented by Hatch, provide a clean, secure bridge between developer flexibility and system integrity.
The Future: Rootless Customization Through Firmware Trust
The Android ecosystem continues to evolve toward modular, secure customization.
Features like:
- Project Treble (modular vendor partitions)
- GKI (Generic Kernel Image)
- Dynamic partitions
…make it easier to modify system components without ever touching the root layer.
Hatch’s approach — giving trusted apps firmware-signed privileges — aligns perfectly with this direction. It offers developers what root once did, but with far greater stability, security, and maintainability.
Final Thoughts: Controlled Approach for Custom Android Hardware
Rooting was once a necessary tool for innovation. Today, it’s optional — and often counterproductive — for custom Android device makers.
Hatch offers a solution that gives customers all the power of root, with none of the risks.
Through firmware signature keys, your applications gain secure access to system-level configuration, logging, and control — all within Android’s verified, trusted framework.
The results are simple:
- Total control when you need it.
- Verified security always.
- Custom Android hardware built for real-world deployment.
Hatch advances Android customization through practical engineering.